Make images from text
Download the compressed Teripic file here, and extract it to anywhere you want.
There will be 4 subdirectories(image, license, program, project) and a VBScript file(make_shortcut.vbs).
You may directly execute “Teripic.exe” in “program” directory or run “make_shortcut.vbs” to create windows shortcut files first and then execute “Teripic.lnk”.
(You can also execute “Teripic.exe -v768” or “Teripic_768.lnk” if you want to use Stable Diffusion 2.0-v Text-to-Image model whose optimal resolution is 768×768, instead of Stable Diffusion 2.0-base model optimized for 512×512. Only Text-to-Image functionality will be affected by this choice.)
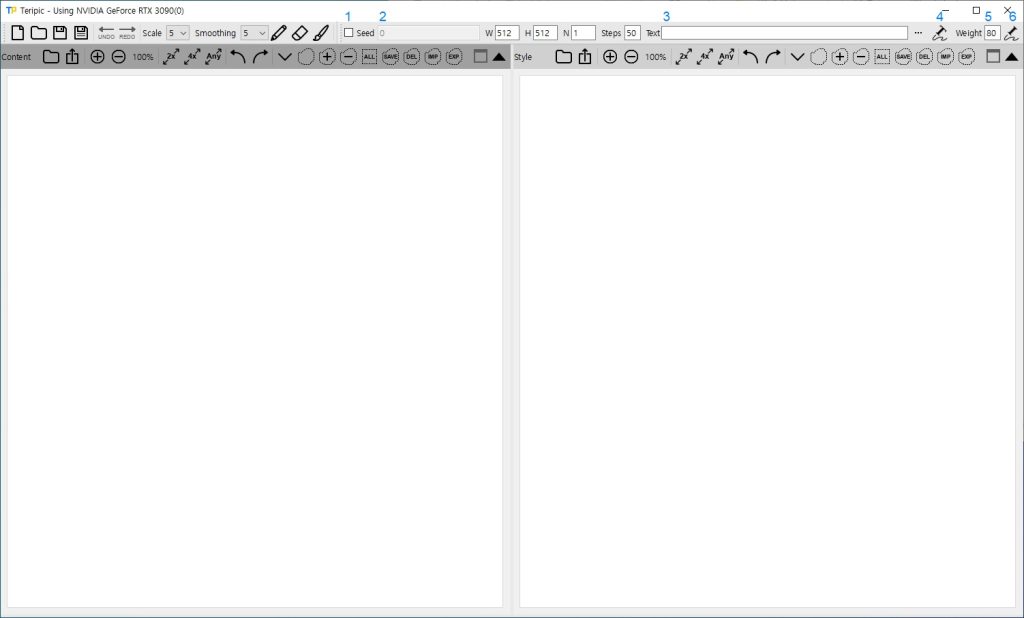
Now let’s make an example image from text.
- Check the seed input check box, to use user-provided seeds instead of auto-generated ones.
- Put “11” to the seed input edit box.
- Put “a vibrant pirate ship in a cyberpunk style” to the text edit box.
- Click Text-to-Image icon. After a few seconds, you will get an image like the one in the first screenshot.
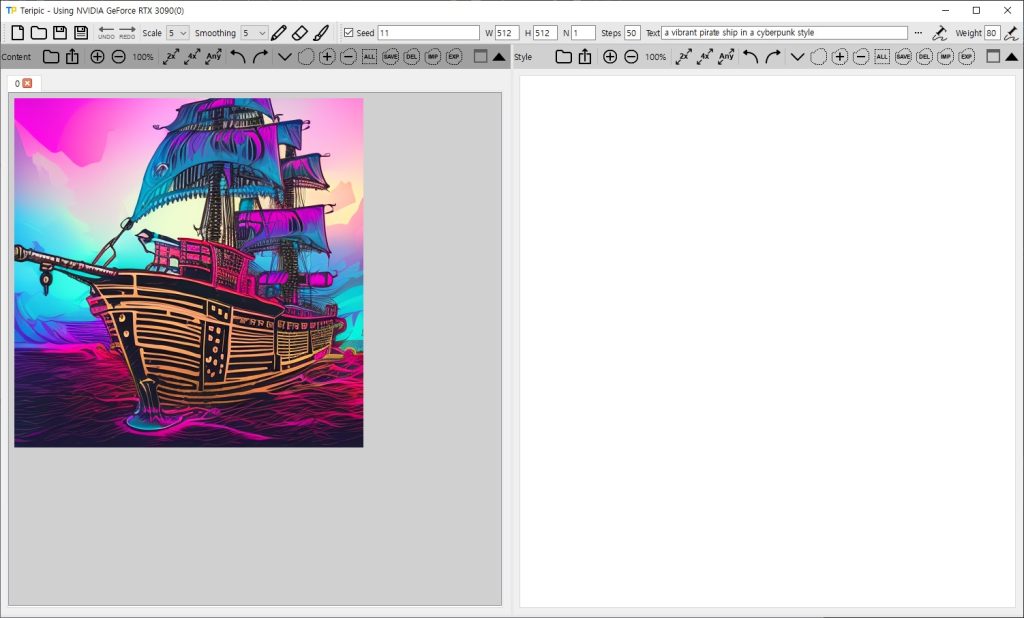
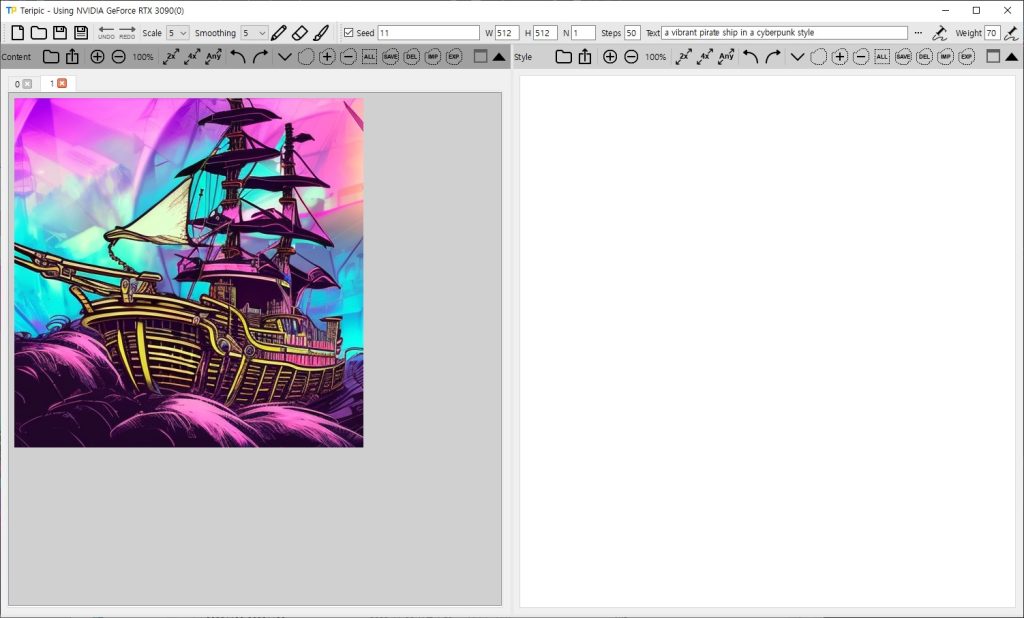
- You may provide an initial image to start with, in addition to text. Let’s generate variations of the previous Text-to-Image result. Put “70” to the weight input edit box while keeping other parameters the same. Higher weight values result in images less similar to the initial one and vice versa.
- Click Text-to-Image with an initial image icon(the rightmost one in the main toolbar) to get a variation of the first image.
Stylize images
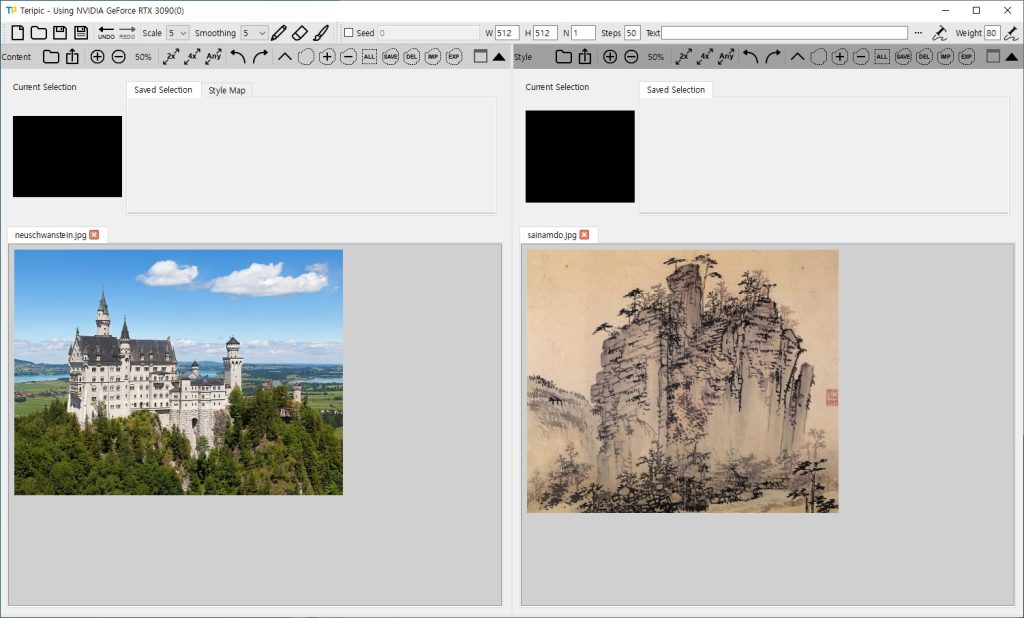
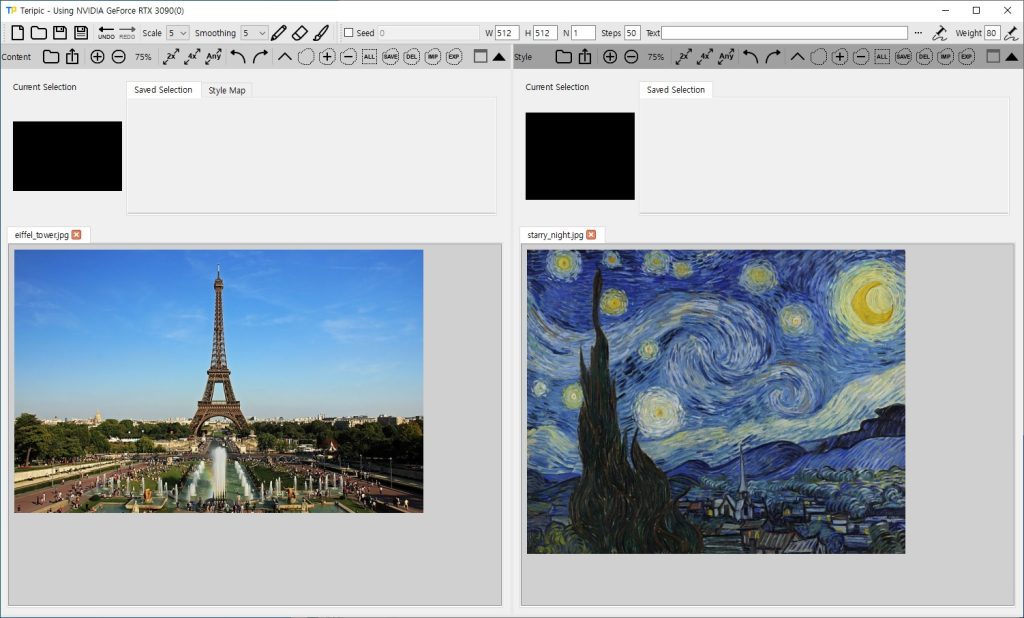
Teripic’s left subwindow is for images which you want to stylize while preserving its contents(“content images”), and the other one is for those contain certain styles you want to mimic(“style images”).
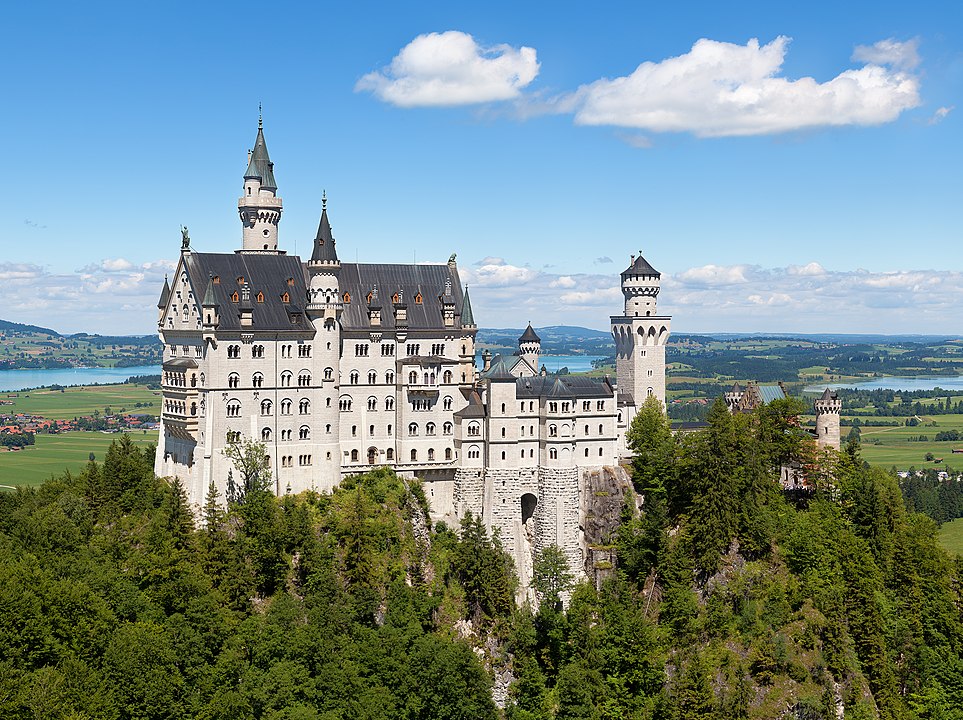
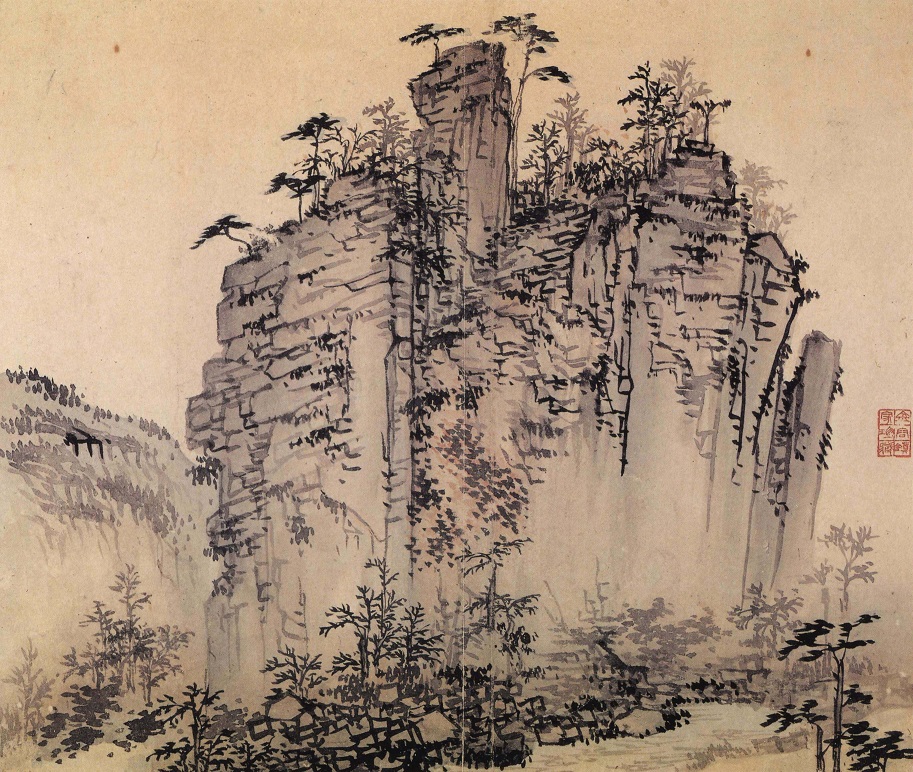
Let’s open “image\neuschwanstein.jpg” for content and “image\sainamdo.jpg” for style, by clicking the folder icons in each subwindow. (Not the one in the main toolbar – it’s for opening Teripic project file)
You can also open image files by dragging and dropping them to subwindows.
After opening images, you can adjust zoom ratios to fit them in each subwindow, by clicking circular plus/minus icons.
Then click the arrows pointing down in each subwindow, to expand the selection view.
Note that the rectangles below “Current Selection”s are completely black, which means there’re no selected areas in both images yet.
Now, let’s do the stylization. It’s a 2-step process – prototyping and finalization.
Prototyping lets you configure spatial style mapping(area A of content image gets the style from area A’ of style image, area B from area B’, and so on.) and also creates decent stylized prototype images in just a few seconds.
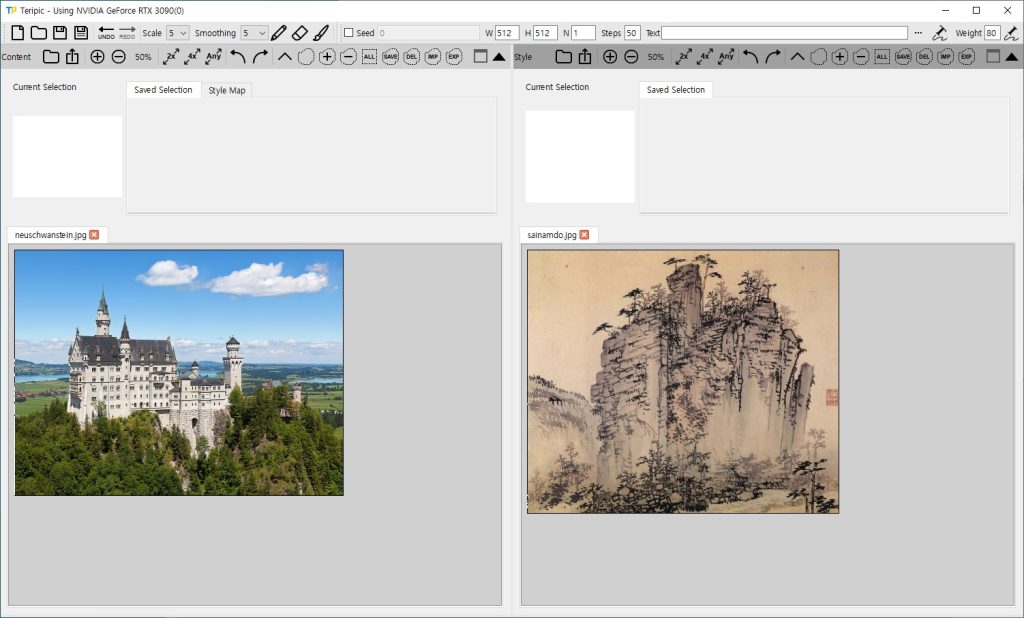
For now, let’s just do it simply. Select the whole content image by clicking the “ALL” icon in dotted rectangle or pressing “Ctrl+A”, and do the same for its counterpart.
Now you can see both “Current Selection”s are filled with white, which means the entire image areas are selected.
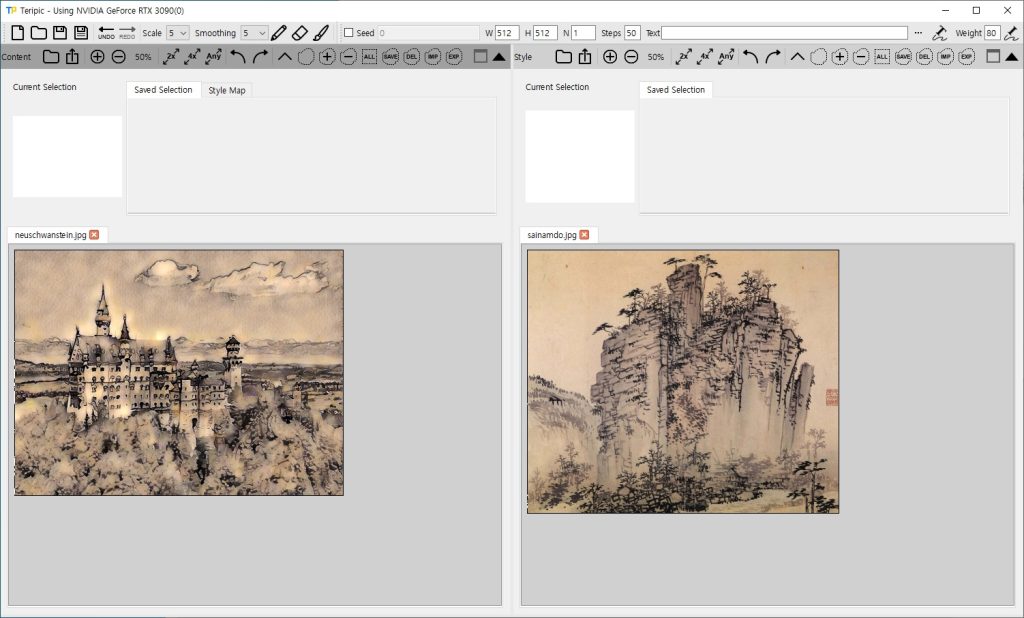
Run prototyping by clicking the pencil icon in the main toolbar and you will get a stylized prototype image in a few seconds.
You may change the “Scale” parameter in the main toolbar and re-run prototyping to get different results.
As the scale gets larger, the result contains coarser pieces of the style image and hence looks more dramatic, but on the other hand the original content gets more vague.
Click the brush icon in the main toolbar and you will see the following pop-up window.
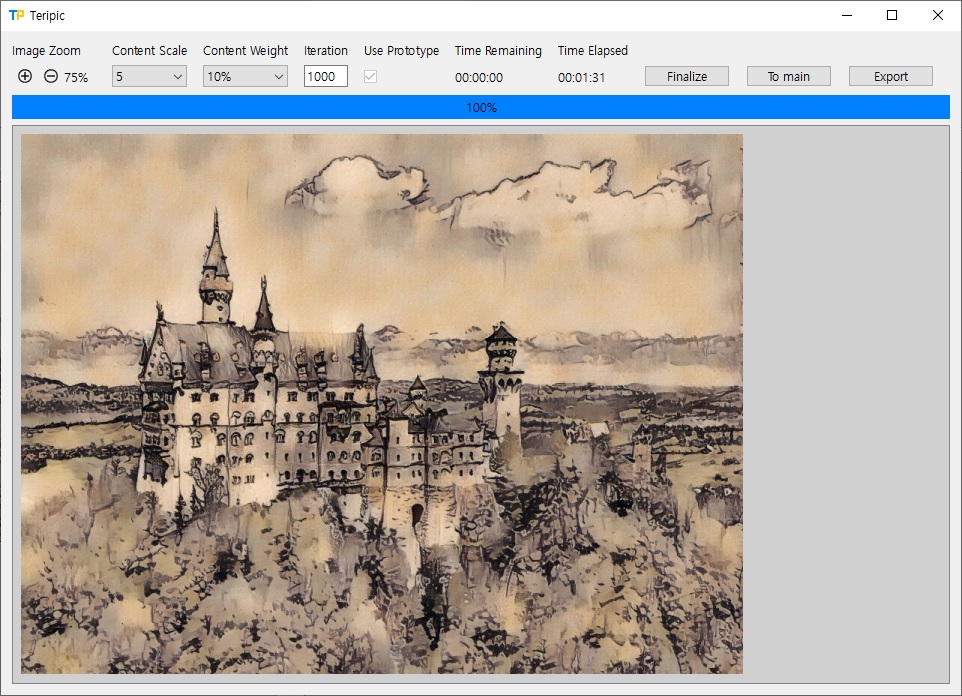
Click the “Finalize” button. It runs an iterative process which takes a few minutes.
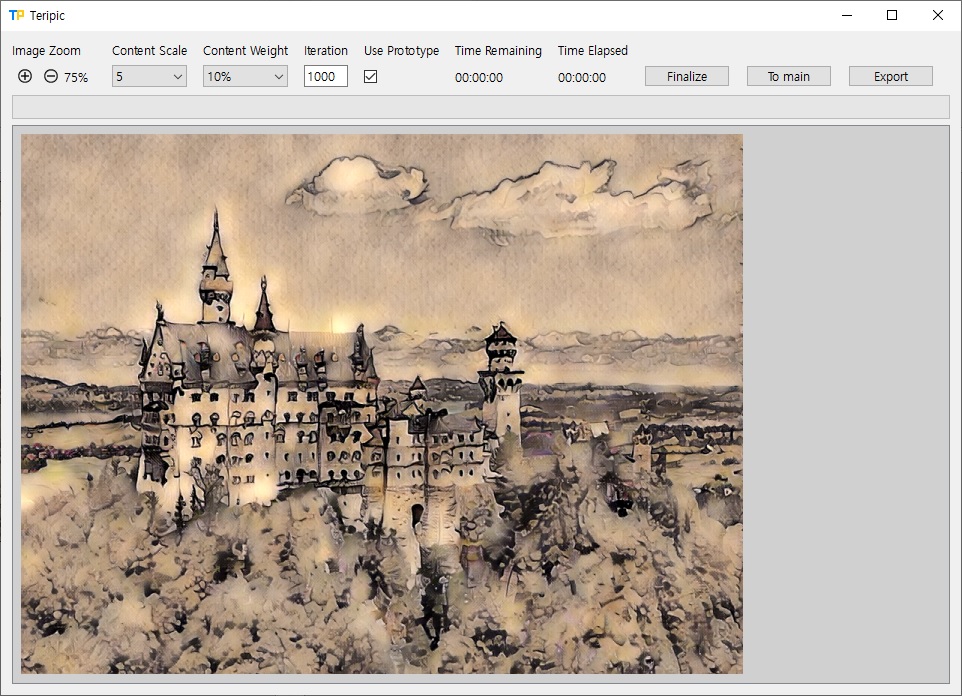
The result will be something like the following image.
If you want to run more iterations, set the iteration parameter and do it again.
It runs incrementally(continues from the current image rather than restarting from the initial prototype).
You can save the result image by clicking the export button.
Use Style Mapping
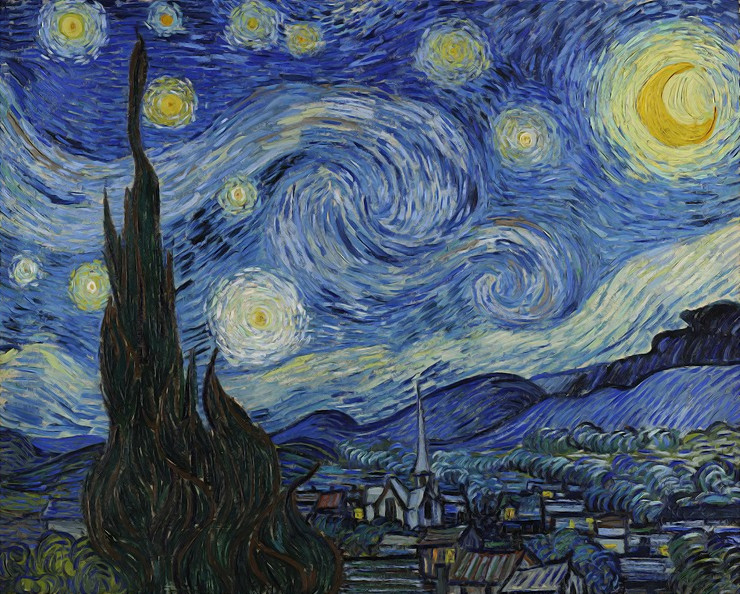
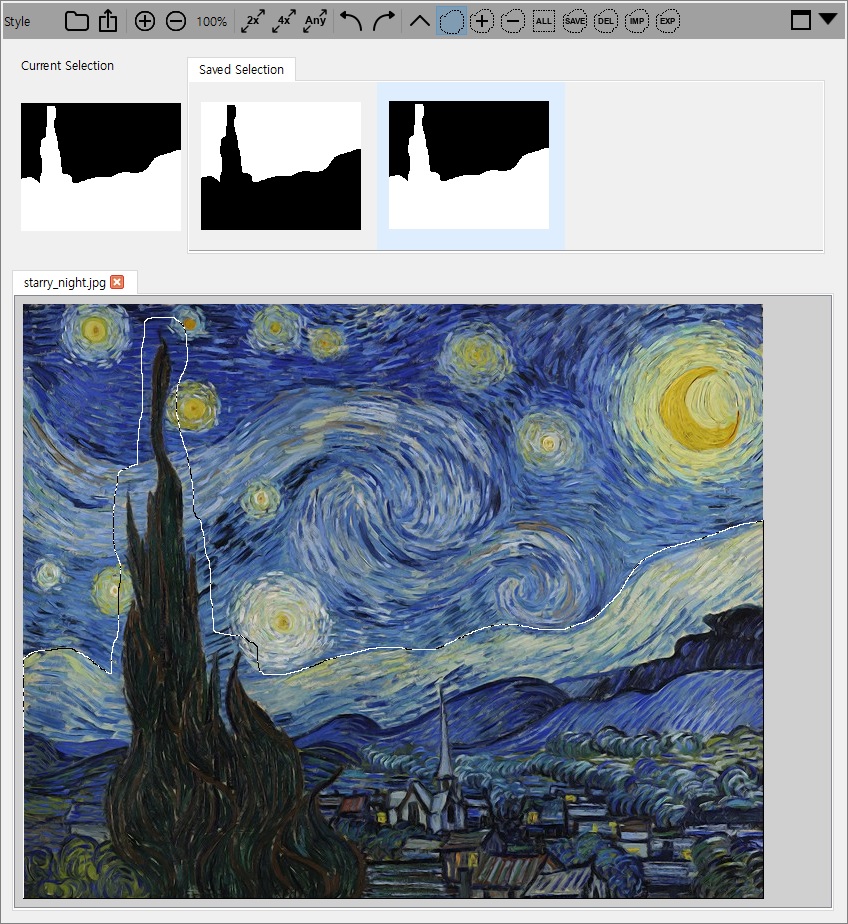
Let’s do the very famous masterpiece “Starry Night” style this time.
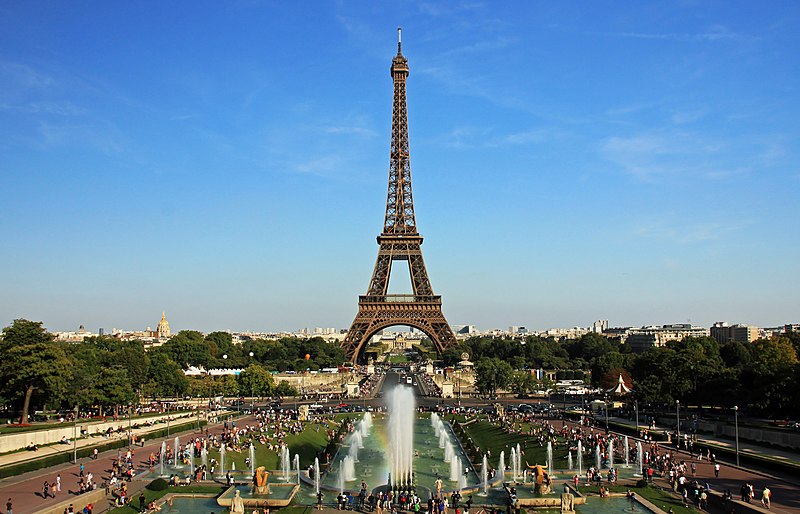
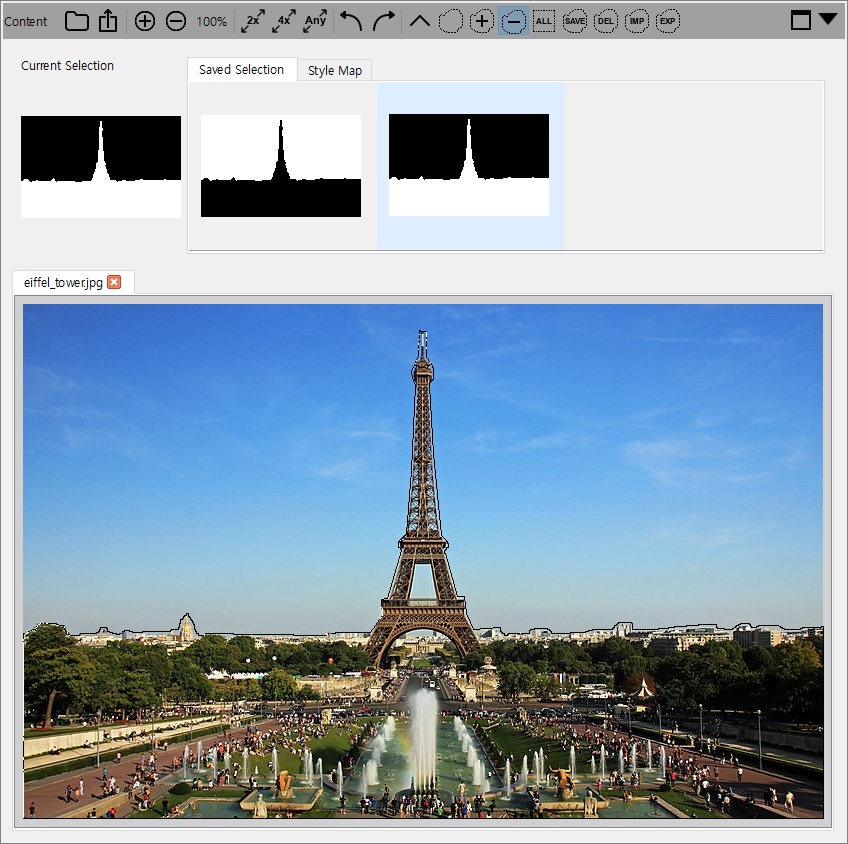
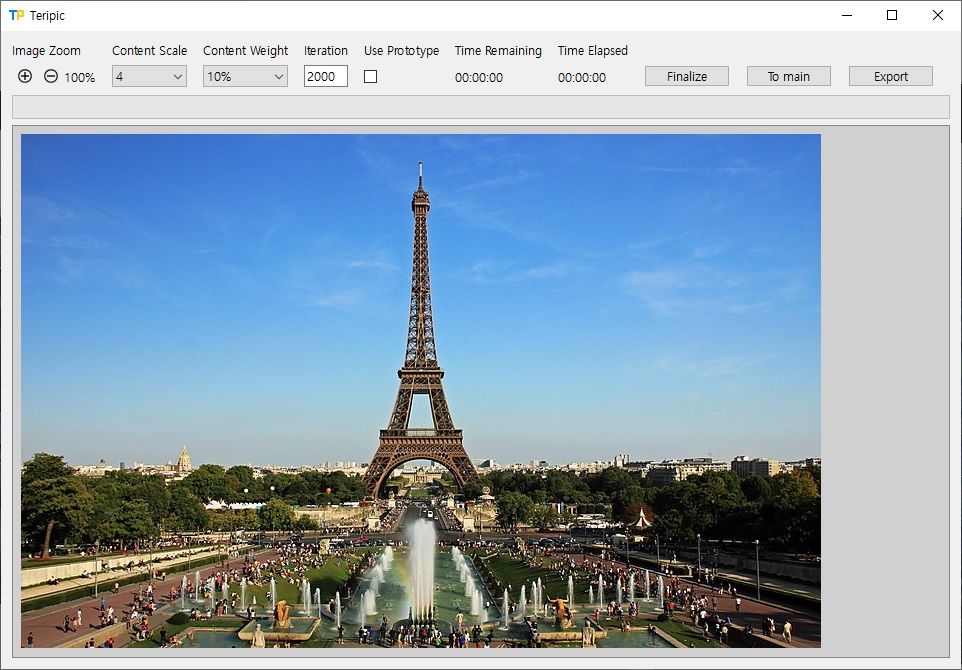
For content, a beautiful view of the Eiffel Tower will be used.
Open “eiffel_tower.jpg” and “starry_night.jpg” in the “image” directory, for content and style respectively.
Cropped the original image a little bit to get rid of the damaged part of the painting, and then applied a noise reduction filter
You can just apply the style of the whole “Starry Night” image, but then it may generate semantically incorrect results, like the tree in “Starry Night” appears in the sky of result images, because Teripic is not yet able to take account of semantics of images when applying styles.
So, let’s divide both content and style image into two parts – the sky and the rest.
You can dock/undock each subwindow by clicking the rightmost triangular icon to use them more conveniently.
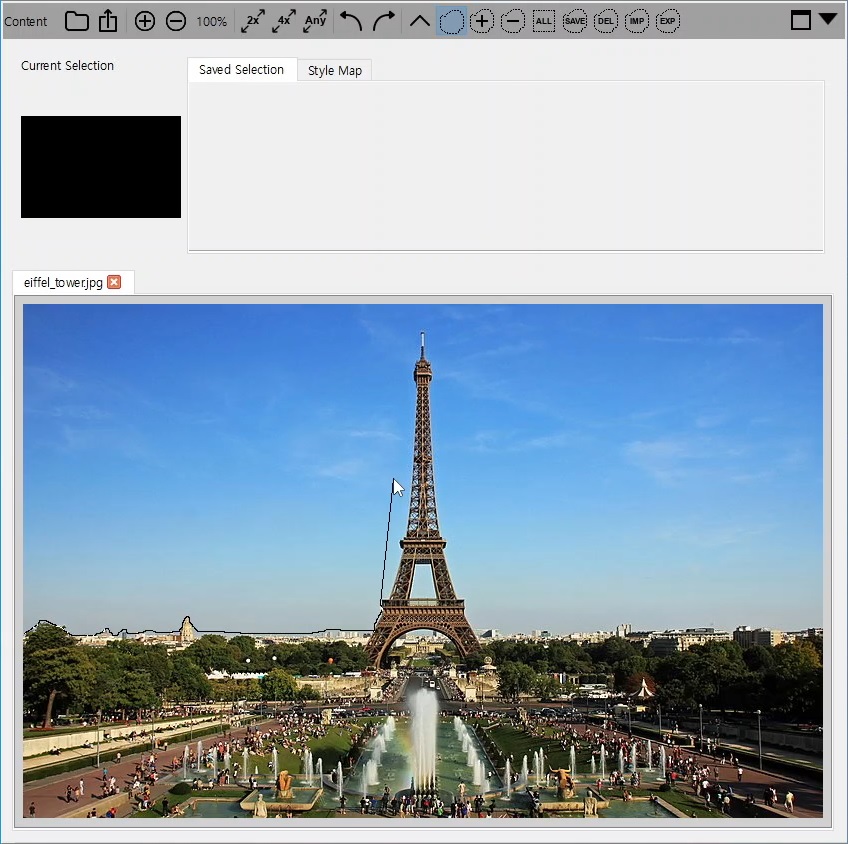
Click the first dotted shape icon in the content subwindow to use the free select tool, and select the sky part of the content image.
You can configure arbitrarily shaped boundaries by clicking-and-dragging as well as polygonal boundaries by clicking vertices, and you can use both methods alternately.
You don’t need to try too hard to get razor-sharp selections. Just rough ones are enough.
After you finished selecting, click the “SAVE” icon to save the current selection to reuse it later.
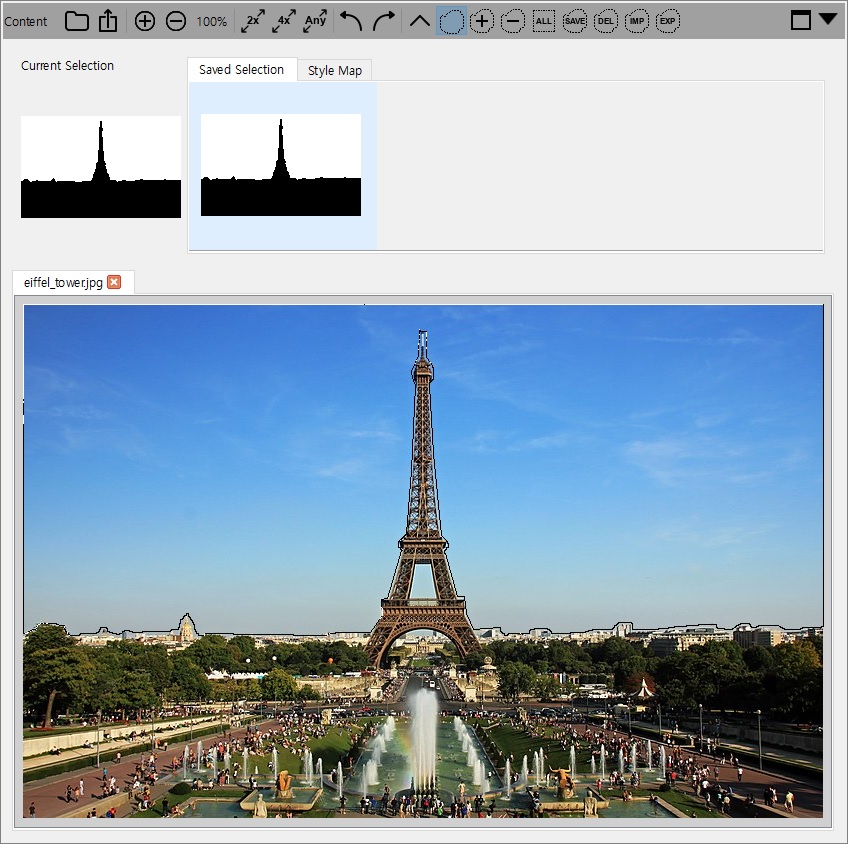
Now, we need to select the rest part – the whole image except the sky.
It can be done by selecting the whole image first and then subtracting the saved selection from it.
Click the “ALL” icon or press “Ctrl+A” to select all.
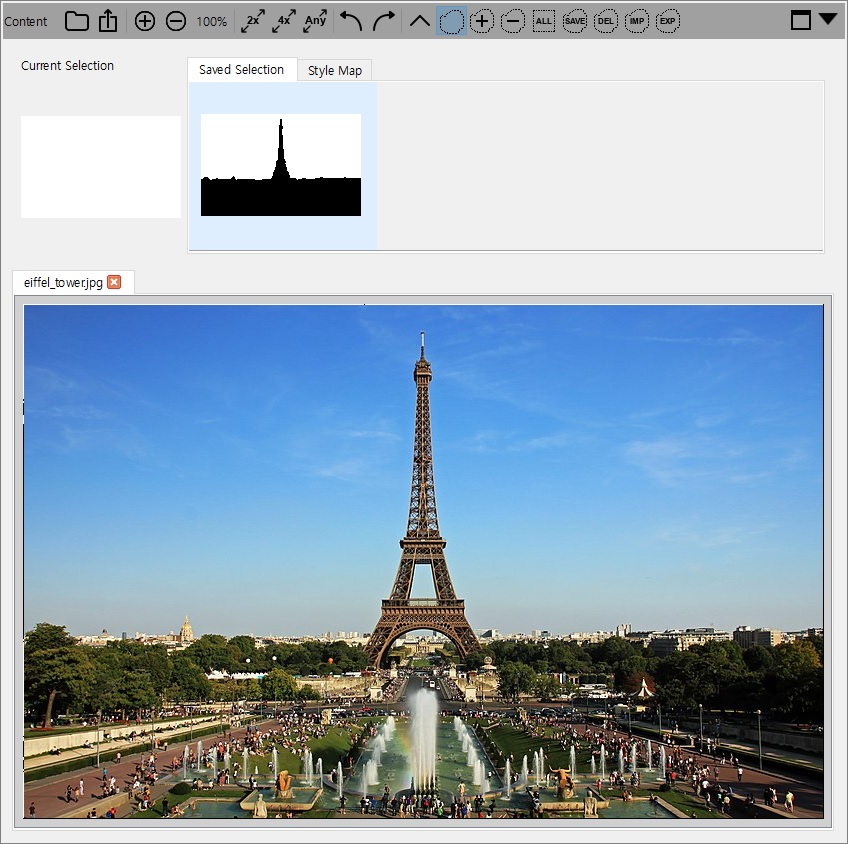
Click the minus icon in a dotted shape to use the free select minus tool, click the previously saved selection in the “Saved Selection” tab so that it is subtracted from the whole image selection, and then save the result selection.
“Free select minus” means selections made or saved selections loaded will be subtracted from the current selection.
The content image is ready now, so do it one more time for the “Starry Night” image in the same fashion.
It will be something like below.
Now let’s construct a style map(prototyping). This time the “Scale” parameter needs to be separately configured for each style map entry.
It configures the maximum scale of style image patterns to be used in both prototyping and finalization processes. A swirl in “Starry Night” is a good example of coarse(large) scale patterns, while individual brushstrokes constituting it are fine(small) ones.
And obviously, we want to see those big fabulous swirls in the sky of the “Starry Night” in the result image, but it’s not the case for the houses and trees on the ground.
So let’s map the sky of the style image to that of the content one with scale 9(largest) and the rest to its counterpart with scale 5.
Select the sky parts for both images by loading previously saved selections, set the “Scale” parameter to 9, and then click the pencil icon in the main toolbar.
Don’t forget switching to free select tool from free select minus before you load saved selections, because when using free select minus, saved selections will be subtracted from the current selection instead of being loaded.
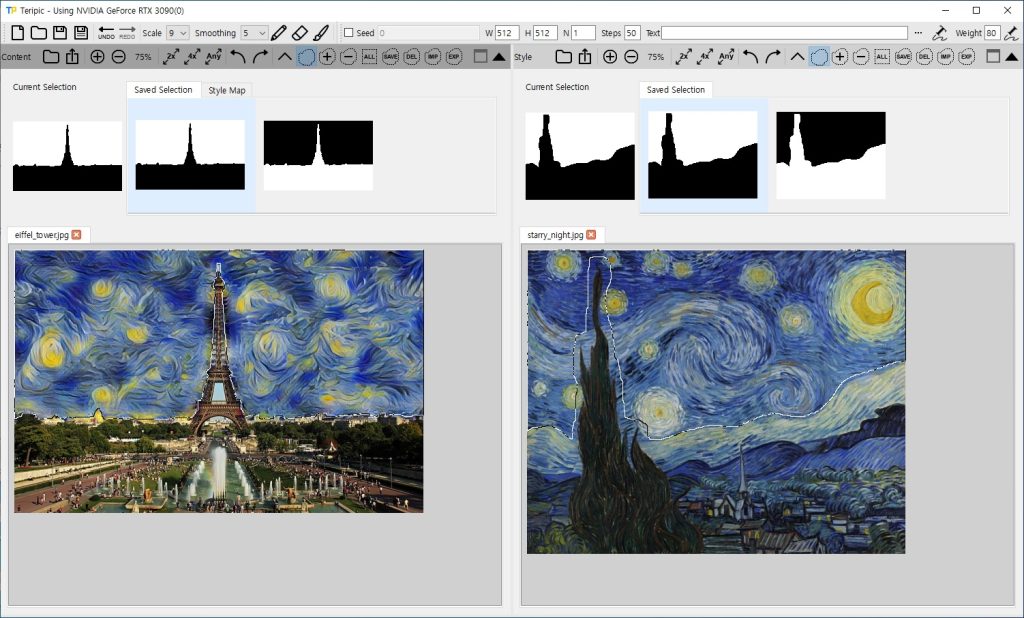
Do the same for the rest parts with scale 5.
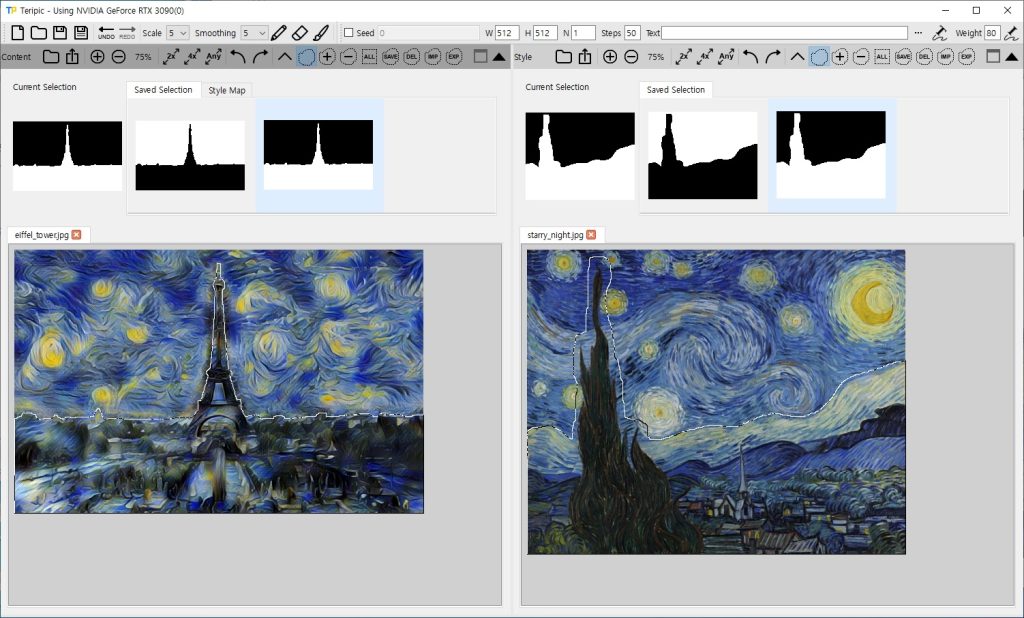
Prototyping is done now, so click the brush icon in the main toolbar to do finalization.
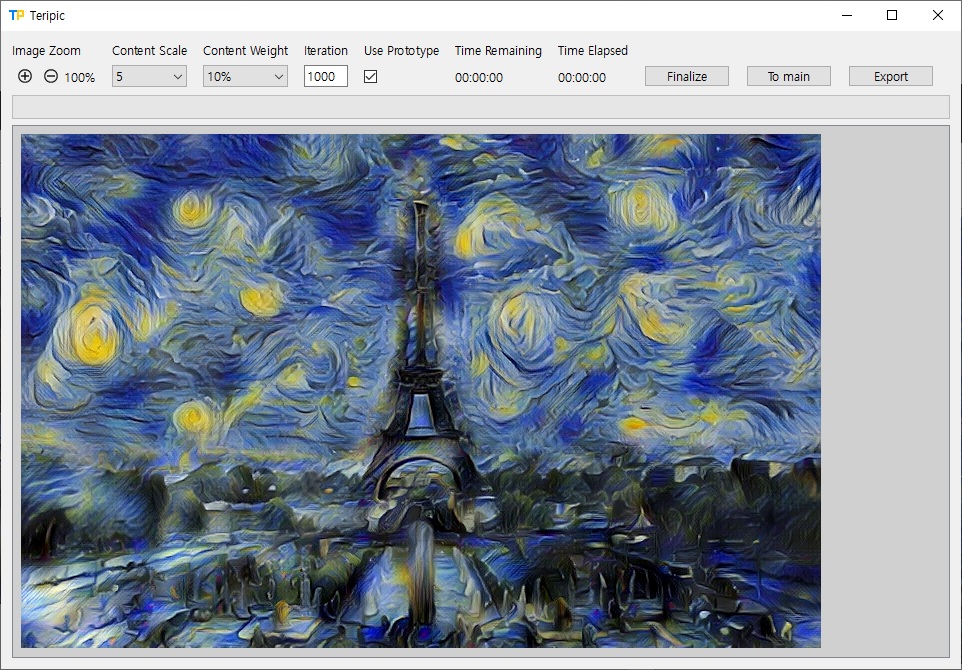
Clearly, the prototype image is not so great this time, unlike the previous example in which it was good enough that the finalization process only enhanced it a little bit.
When the prototype is not very convincing like this, you can just start finalization from the original content image by unchecking the “Use Prototype” checkbox.
Let’s set “Content Scale” to 4, “Iteration” to 2000 and uncheck “Use Prototype” checkbox like below.
Click the “Finalize” button, and it will take some time. You may stop it even before all iterations are completed if you think the intermediate result is good enough, and also you can run more iterations incrementally after it’s finished or stopped.
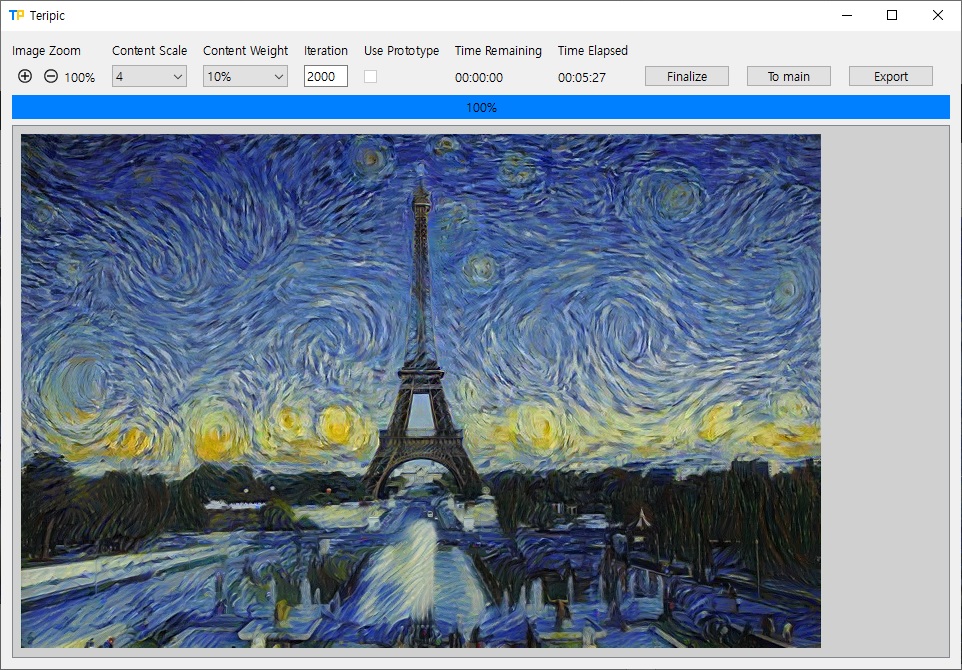
Don’t forget to export the result image if you like it, before closing the finalization pop-up dialog, as it will not be transferred to the main window.
Now let’s save our work done so far by clicking the diskette button in the main toolbar, in order to reuse it later. Perhaps you’d better keep saved selections, so that you don’t need to do free selecting again when you use the same content/style images in the future.